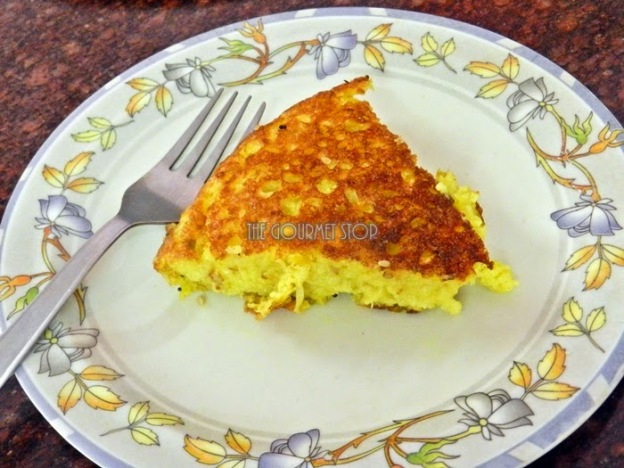
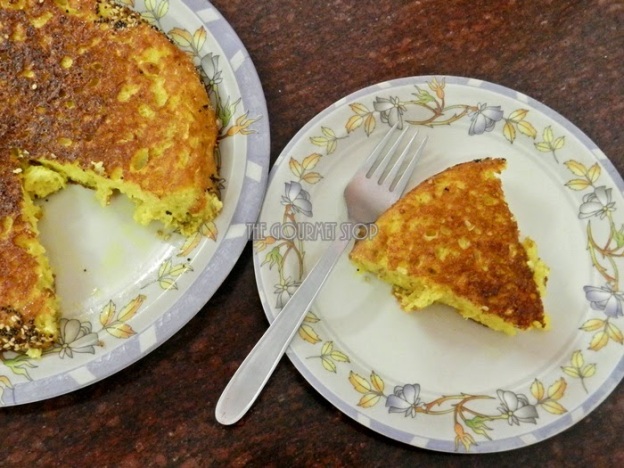
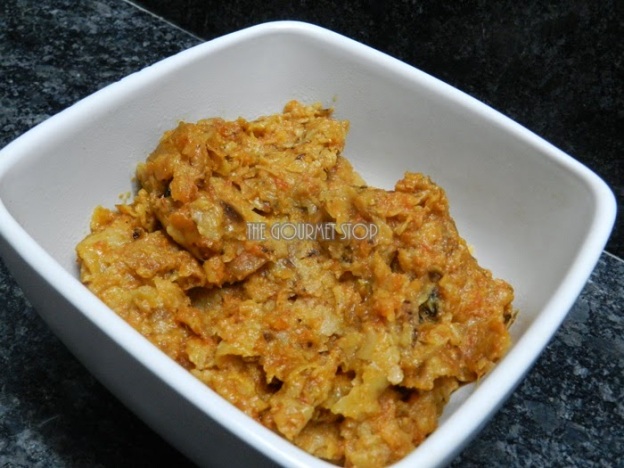
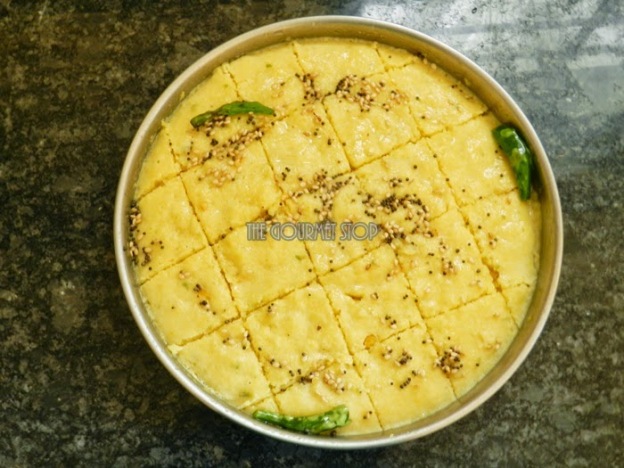
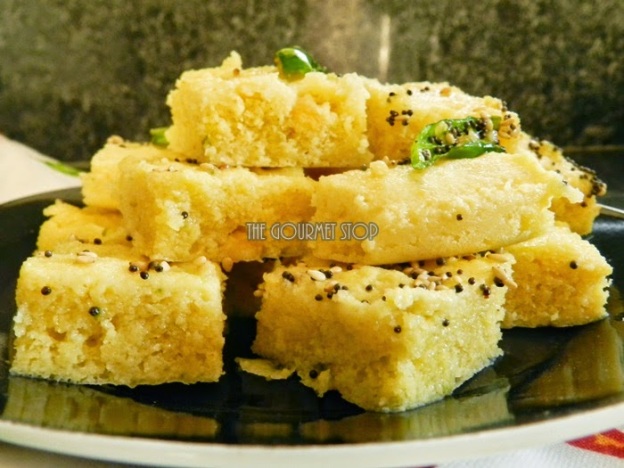
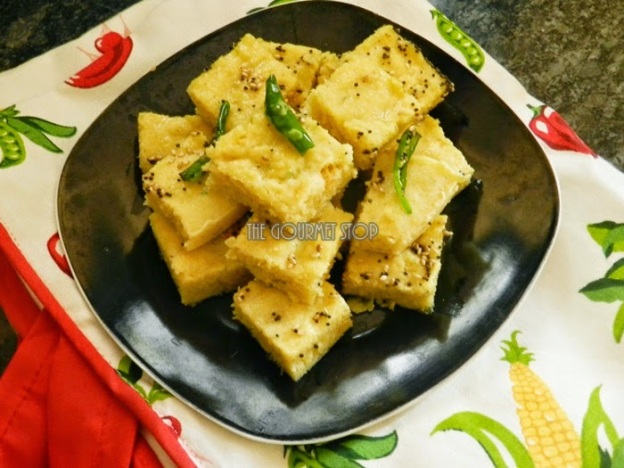
Gujarati Handvo Without Oven/OTG Recipe: Doodhi/Lauki Handva Recipe

Gujarati Handvo Without Oven/OTG Recipe: Doodhi/Lauki Handva Recipe

Gujarati Handvo Without Oven/OTG Recipe: Doodhi/Lauki Handva Recipe

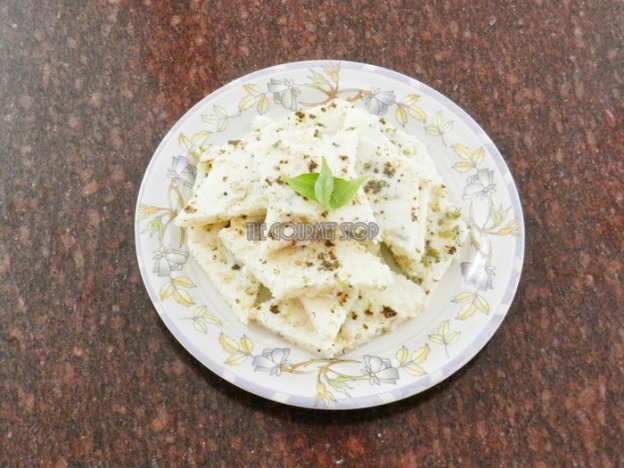
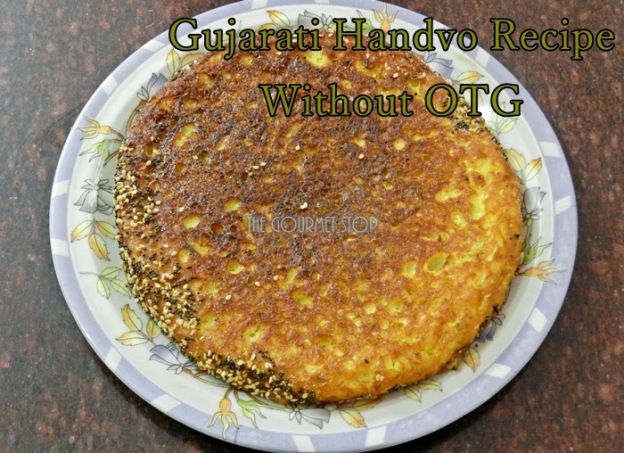
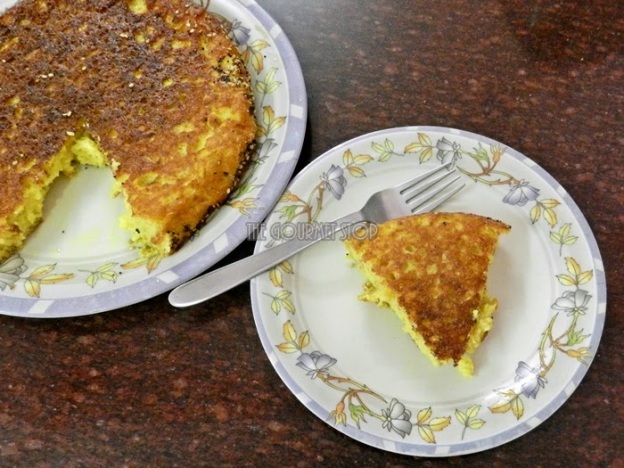
Handvo or Handva is a traditional Gujarati Farsan(Snack) and it tastes so delicious! Traditionally, women in Gujarat prepare the Handvo Flour (mixture of rice & many pulses) in large quantities and use it as required. It is also easily available in any local shop, market, super market in Gujarat. But for those, like me, who don’t stay in the state & still want to enjoy Handvo, here is a recipe from scratch where I soak the required the pulses & rice to make the batter. By this method too, the end result will be same as it is obtained while making Handvo from flour. Also, for those who do not own an Oven or OTG, I will show you how you can make it on burner! The procedure is a bit lengthy but at the end its all the worth!

Gujarati Handvo Without Oven/OTG Recipe: Doodhi/Lauki Handva Recipe

Click “Print” or “PDF” button below to save this recipe!

You will need:

1 Cup Rice (long or short grain)
1/2 Cup Tuvar Dal/Toor Dal/Pigeon Peas Split Pulses
1/4 Cup Chana Dal/Bengal Gram Whole
3 Tbsp Curd (Preferably Sour Curd)
1/4 Tsp Turmeric Powder
1/2 -1 Cup Water or as needed
2 Tbsp Oil
3 – 4 Tsp Green Chillies & Ginger Paste
2 Tsp Garlic Paste
2 Cups Grated Doodhi/Lauki/Bottle Gourd
1/2 Tsp + 1/2 Tsp Eno Fruit Salt (Non Flavoured)
Salt to taste

For tempering & cooking:

6 Tbsp + 6 Tbsp Oil
1 Tsp + 1 Tsp Mustard Seeds/Rai
1/4 Tsp + 1/4 Tsp Asafoetida/Hing
2 Dry Red Chillies Slit in half
1 Tsp + 1 Tsp Sesame Seeds/Til/Taal

Serving: Makes 2 Large Handvo. For 4-6 persons

Steps to Make Gujarati Handvo Without Oven/OTG:

  1. Wash and soak rice and all the daals in ample of water for 6-8 hours.
  2. Completely drain water from soaked rice & daals mixture.
  3. Add rice & daal mixture in a blending jar & grind it to a coarse paste using water. Consistency should be like a thick dosa batter.
  4. Pour the batter in a wide & deep vessel. Add Salt to taste – including for doodhi/bottle gourd which we will add later.
  5. Add turmeric powder, curd, oil. Mix well.
  6. Cover with a plate or lid & allow it to ferment for 7-8 hours.
  7. After the batter is fermented add, green chillies & ginger paste, garlic paste, grated doodhi/lauki/bottle gourd. Mix everything well.
  8. We are 2 handvo from this batter. So divide the batter in two equal portions.
  9. Add eno fruit salt to one portion which you will cook first & mix.
  10. Heat oil in a flat pan and add mustard seeds & allow it to crackle.
  11. Add asafoetida, dry red chilli split in half, sesame seeds/til/taal. Give it a quick stir.
  12. Pour half of the batter in which eno fruit salt is added in the pan. Spread it evenly with a spoon or spatula.
  13. Turn the heat to low setting & cover the pan with a lid. Cook for 20-25 minutes. Check after 25 minutes, it should have golden brown crust.
  14. Turn the gas off. And flip the handvo with the help of a plate.
  15. Turn the gas on. Set the flame again to a low setting.
  16. Place the pan back on the burner & add 1 Tbsp oil.
  17. Slide the handvo in the pan slowly. Cover it with a lid & cook for 20 -25 minutes other side as well.
  18. After 25 minutes, it should be cooked & ready to served.
  19. Cook another Handvo from the remaining batter in the similar way.
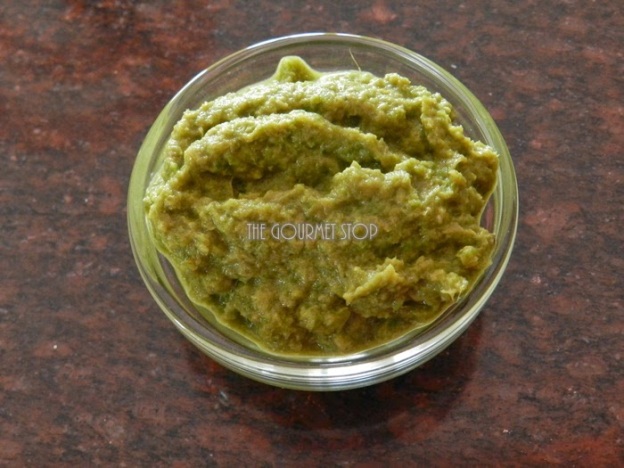
  20. Cut into desired shape pieces & serve with Green Chutney & Sauce.

Important Pointers:

  • For soft & fluffy Handvo, add Eno fruit salt just before you pour it in the pan for cooking. If you will let it sit for long, Handvo can turn out hard.
  • Handvo batter takes time for cooking, so the heat should be always on low setting or else it can be raw from the middle. You need atleast 25 minutes on both the sides.
  • For the batter, make sure the rice & daals mixture is grinded coarsely. You won’t get nice grainy Handvo if you grind it to a fine paste. So it is best if you soak everything in one bowl & grinding it together unlike dosa batter, where you grind rice & daal separately.
If you want to see how I made this Gujarati Handvo Without Oven/OTG, then head over to video recipe by clicking this link:

Click “Print” or “PDF” button below to save this recipe!

Sindhi Phulka Bhaji Recipe: One Meal Indian Recipe!

Sindhi Phulka Bhaji Recipe: One Meal Indian Recipe!

Sindhi Phulka Bhaji Recipe: One Meal Indian Recipe!

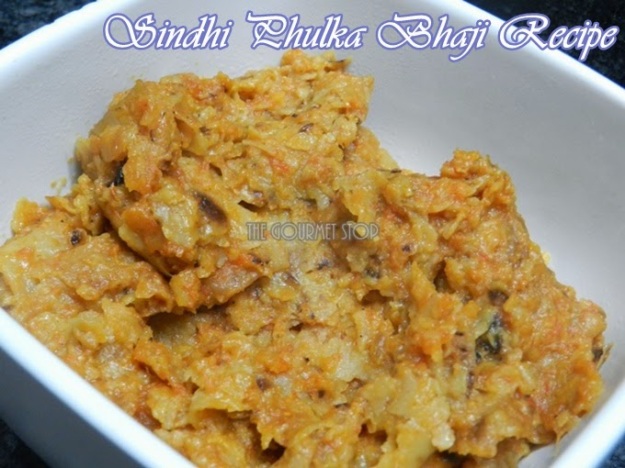
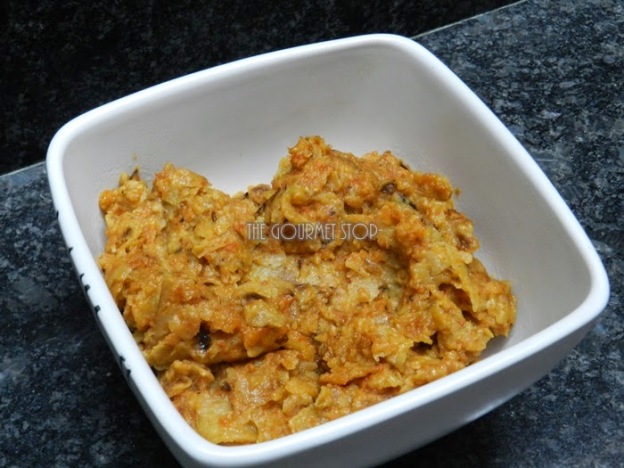
If you like me, end up with leftover rotis every other day, then this recipe is perfect for you – Sindhi Phulka Bhaji! It gives you wholesome feel and can easily be categorized under ‘One Meal Recipe’. It is so delicious that sometimes I purposely make extra rotis during lunch preparation so that I can enjoy this amazing dish for dinner! It is my saviour on days when I am not sure what I should cook for breakfast or dinner. It needs few ingredients and is quick fix food.


Sindhi Phulka Bhaji Recipe: One Meal Indian Recipe!

Sindhi Phulka Bhaji Recipe: One Meal Indian Recipe!

Click “Print” or “PDF” button below to save this recipe!

You will need:

1 Medium Sized Onion Diced
4-5 Garlic Cloves
4 Green Chillies Whole
1 Inch Ginger Piece
4 Medium Sized Tomatoes Diced
½ Tsp Turmeric Powder
1 Tsp Red Chilli Powder
6 Tbsp Oil
1 Tsp Cumin Seeds
8-10 Leftover Chappatis/Rotis
1 – 1.5 Cup Water
Salt to taste

Serving: 2-3 Persons

Steps to Make Sindhi Phulka Bhaji:

  1. In a grinding jar, add onion, tomatoes, garlic cloves, ginger & green chillies. Also, add spices – salt, turmeric powder & red chilli powder. Grind it to a smooth paste.
  2. Remove the paste in a bowl & keep it aside.
  3. In a deep pan, heat oil and add cumin seeds. Allow it to crackle.
  4. Divide each roti/chappati into half. Apply the paste to each half of the roti & place it in the pan.
  5. Allow the rotis to crisp on one side on medium flame – light brown color. It will take about 5-7 minutes.
  6. Flip the rotis carefully, and let it crisp on the other side for about 5-7 minutes.
  7. Once it is cooked, add remaining gravy, if any.
  8. Add water and cook on high flame till the water gets absorbed completely.
  9. Cover the pan with lid for 2 minutes and turn the flame to low.
  10. Serve hot.

Other leftover recipes: Leftover Rice Stuffed Paratha

If you want to see how I made this Sindhi Phulka Bhaji, then head over to video recipe by clicking this link:


Click “Print” or “PDF” button below to save this recipe! 

Indian Spiced Chai/Tea Recipe: Cinnamon & Cardamom Flavor Chai/Tea

 Indian Spiced Chai/Tea Recipe: Cinnamon & Cardamom Flavor Chai/Tea

Indian Spiced Chai/Tea Recipe: Cinnamon & Cardamom Flavor Chai/Tea

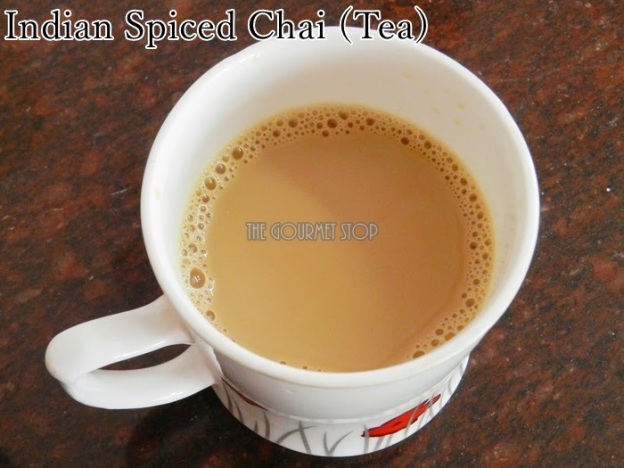
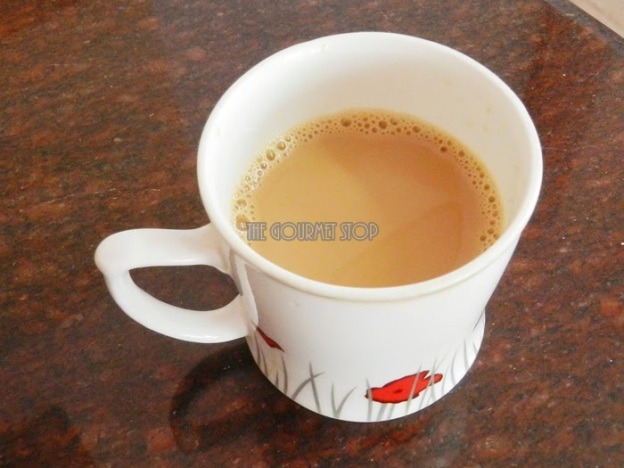
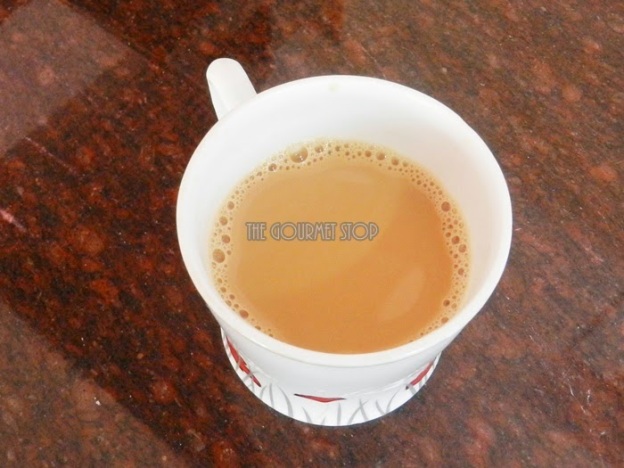
Some love coffee, for some its tea!  I am tea-lover and I can’t start my day without the dose of tea. Green tea is known to be a healthier option but I preserve that for later part of the day. In the morning, I NEED my flavoured version of “Chai”!  Here is a quick variety of Cinnamon & Cardamom flavoured tea. Both these flavours compliment each other so well and this tea instantly re-energises body. I even opt for this flavour when I am having severe headache. It instantly soothes & relaxes me.

Indian Spiced Chai/Tea Recipe: Cinnamon & Cardamom Flavor Chai/Tea

Indian Spiced Chai/Tea Recipe: Cinnamon & Cardamom Flavor Chai/Tea

Click “Print” or “PDF” button below to save this recipe!

You will need:

1 Inch Piece of Cinnamon/Dalchini
1 Piece Green Cardamom/Elachi – Roughly Pounded
1/2 Cup Water
1/2 Milk (Toned or Full Fat)
1 Tsp Sugar
1 Tsp Tea (Granulated)

Serving: Single

Steps to Make Indian Spiced Tea/Chai:
  1. In a sauce pan, add water, cinnamon, cardamom and allow it to come to boil.
  2. Add tea. Mix it with spoon and allow it to brew for 1-2 minutes on medium flame.
  3. Now add milk and sugar. Mix and let it brew for 2-3 minutes more depending upon how strong you  like your tea to be.
  4. Strain into a cup & enjoy!

Serving Suggestion: Enjoy the hot cup of tea with Chana DalKhaman, Khatta Meetha Dokhla, Homemade Rice Chips or Leftover Rice StuffedParatha!

If you want to see how I made this Indian Spiced Tea/Chai, then head over to video recipe by clicking this link:

Click “Print” or “PDF” button below to save this recipe!

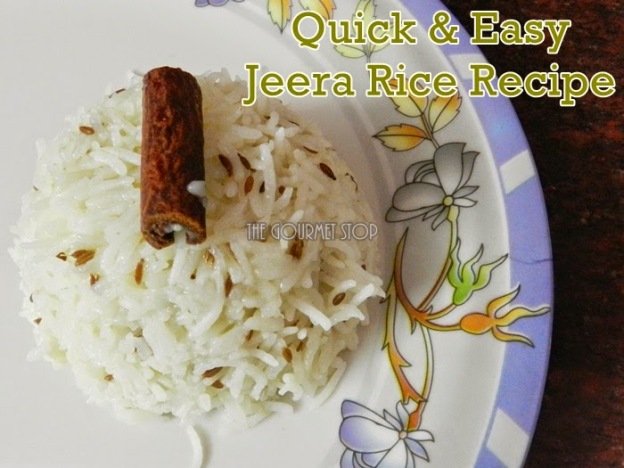
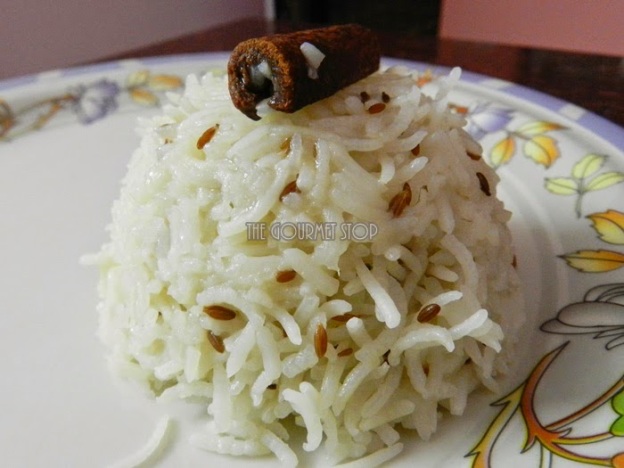
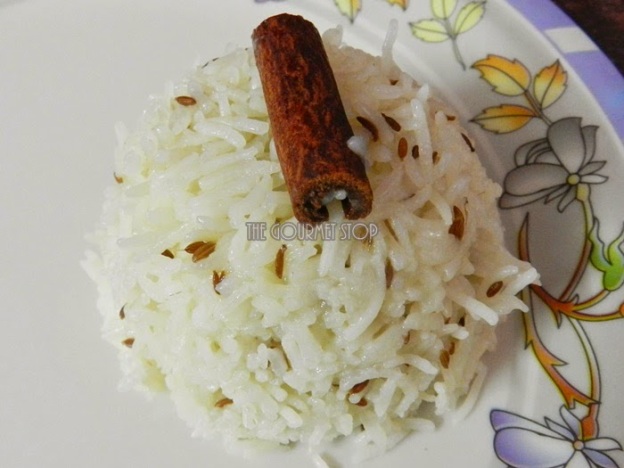
Quick Jeera Rice Recipe : Easy Everyday Rice with Cumin Flavor

Quick Jeera Rice Recipe : Easy Everyday Rice with Cumin Flavor

Everyday rice preparation with dal & sabzi can be boring, so it gets important to bring in your creativity & experiment with different spices and flavours. Here is a simple Jeera Rice Recipe which you can make in jiffy. This isn’t the “authentic restaurant style” Jeera Rice but it is simple and quick version of it; which can be easily adapted in day-to-day cooking.

Click “Print” or “PDF” button below to save this recipe!

Quick Jeera Rice Recipe : Easy Everyday Rice with Cumin Flavor

Quick Jeera Rice Recipe : Easy Everyday Rice with Cumin Flavor

You will need:

1 Cup Basamati/Long Grain Rice – Washed & Soaked for 2 hours
1 Tbsp Oil
1 Tbsp Cumin Seeds/Jeera
1 Inch Cinnamon Stick/Dalchini
2-4 Cloves/Laung/Laving
2 Cups Water
Salt to taste

Serving: 2-4 Persons

Steps to Make Quick Jeera Rice:

  1. Heat Oil in a deep pan, then add Cloves, Cinnamon, Cumin Seeds and cook it for few seconds till Cumin starts to crack & turn light brown in color.
  2. Add Water & Salt, allow it come to come boil.
  3. Now add Rice and stir it lightly. Be careful not to break the rice grain.
  4. Cook rice on high flame till about 80-90% of the water is absorbed/evaporated. It will take about 4-5 minutes.
  5. Cover with a lid & turn the flame to low. Let the rice cook for another 3-4 minutes or till it absorbs water completely.
  6. Turn off the gas.
  7. Serve with your favourite Dal or Kadhi like Sindhi Sai Bhajior Gujarati Kadhi.

Important Pointers:

  • Make sure you do not burn the Cumin Seeds/Jeera as it turns brown very quickly.
  • Do not stir the Rice frequently while cooking as it can break the long grain.
  • Always add Rice to boiling water, as it settle down & stick to the bottom of the pan if added to cold/room temperature water.

If you want to see how I made this Quick Jeera Rice, then head over to video recipe by clicking this link:


Click “Print” or “PDF” button below to save this recipe!

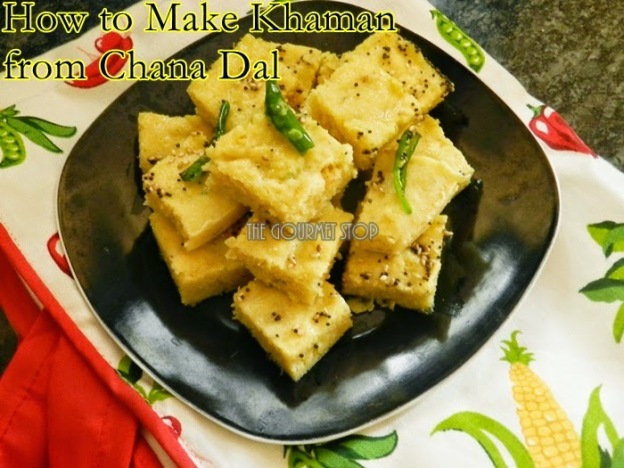
Chana Dal Khaman Recipe: An Authentic Gujarati Snack!

Chana Dal Khaman Recipe: An Authentic Gujarati Snack!

I have stayed in Gujarat for a long period  of my life and there is a saying ,”When in Gujarat, eat what Gujjus eat!”Well… I made it up! But truly gujarati cuisine is so tempting that you just can’t ignore it. Khaman holds a special place in hearts of gujarati people and it is made often & with different techniques & variations. Today, I am sharing Khaman Recipe which is made from Chana Dal/Bengal Gram Whole which is packed with proteins! With just little tips & tricks it is easy to make soft & fluffy Khaman…Yummm!!


Chana Dal Khaman Recipe: An Authentic Gujarati Snack!

Chana Dal Khaman Recipe: An Authentic Gujarati Snack!

Chana Dal Khaman Recipe: An Authentic Gujarati Snack!

Click “Print” or “PDF” button below to save this recipe!

You will need:

1 Cup Chana Dal/Bengal Gram Whole
3 Tbsp Curd (Preferably Sour Curd)
1/4 Tsp Turmeric Powder
2 Tbsp Oil + for greasing plate
1 Tbsp Green Chillies & Ginger Paste
2 Tsp Eno Fruit Salt (Non Flavoured)
Water as needed to grind the paste
Salt to taste

For tempering:

3 Tbsp Oil
1 Tsp Mustard Seeds/Rai
2 Green Chillies Slit in half
1/2 Tsp Sesame Seeds/Til/Taal
Chopped Coriander Leaves for garnish

Serving: Makes about 2 plates of Khaman

Steps to Make Chana Dal Khaman:

  1. Wash & soak Chana Dal in water for 6-7 hours.
  2. In a mixer, grind the soaked Chana Dal, Curd & Turmeric Powder with the help of water (if needed) to a coarse consistency paste.
  3. Transfer the coarsely grated Chana Dal mixture into a bowl, cover with a lid & allow it to ferment for 8 hours or overnight.
  4. Once fermented, add Salt, Oil, Green Chillies & Ginger paste & mix well.
  5. Divide the batter in two portions & add Eno Fruit Salt to the batter which you will steam first, pour a little water over it to activate the soda. Mix well.
  6. Pour the batter in greased plate & spread it evenly.
  7. Place the plate in a steamer & cook it for 20 minutes on high flame.
  8. After 20 minutes, check with the help of a knife if it is cooked properly. The knife will come clean if its cooked otherwise give it a few more minutes.
  9. Once cooked, remove from the steamer & let it cool down to room temperature then cut it into pieces.
  10. For tempering, heat oil in a small pan.
  11. Add Mustard Seeds, allow it to crackle. Then add, slit Green Chillies & Sesame Seeds. Turn off the gas.
  12. Spread the tempering evenly over the Khaman. Garnish with some Coriander Leaves.
  13. Its ready to serve.

Important Pointers:

  • For soft & fluffy Khaman, add Eno fruit salt just before you put it in steamer. If you will let it sit for long, the Khaman will turn out hard.
  • Burner flame should always high when you are steaming, it is possible Khaman will become hard if you switch the flame in between to low or medium.
  • For the batter, make sure the dal is grinded coarsely. You wont get nice grainy Khaman if you grind it to a fine paste.

If you want to see how I made this  Chana Dal Khaman, then head over to video recipe by clicking this link:


Click “Print” or “PDF” button below to save this recipe!

Onion Rava Dosa Recipe: Beginners Guide to make Perfect Rava Dosa

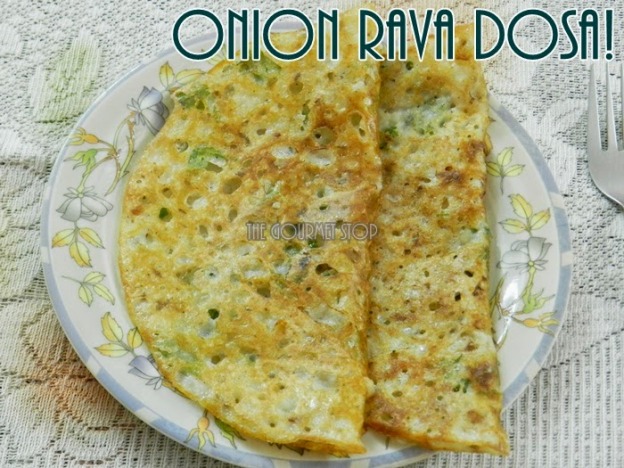
Guide to make Perfect Onion Rava Dosa for Beginners: Onion Rava Dosa Recipe

I love South Indian food! I enjoy it so much that atleast once a week I do make either Dosa or Idlis or Mendu Wada. My husband tells me I must be a South Indian in my previous birth!! Hahaha… But I guess because I have so many good friends from South & over the years they have treated me with the best of South Indian food that I keep on asking for more! Rava Dosa has always been my favourite but I could never ever master the skill of making the perfect Rava Dosa until now. According to my friend from South, it’s a piece of cake to make Rava Dosa! So, I asked her give all the tips & tricks she uses to make Rava Dosa.


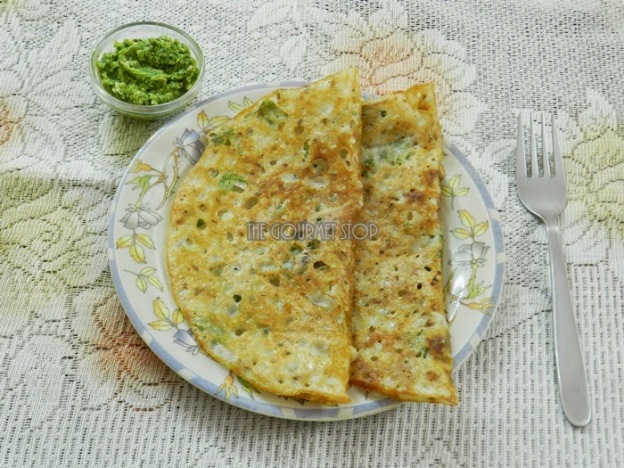
She started by telling me it is important to use the right kind of Pan/Tawa. It is difficult to make the perfect round shaped Rava Dosa if you are beginner using the regular Dosa Tawa. It takes a while to master the art, so she recommended using a flat pan instead as it will help in getting the perfect round shape! Also, it will help the process of handling dosa very easy. The consistency of batter also plays an important role & since, the quality of rava/semolina differs from regions to regions, some absorb more water & some less. She told me always look for Chaas/Butter Milk like consistency & you will never go wrong. If you add more water, it will take ages for the dosa to crisp & if you take less water it won’t spread easily & might end up like a Upma.

Once you get the consistency right, making dosa is easy if you spread the Dosa batter in the pan the correct way! The right way is to start from the outside & coming towards the centre of the pan. Also, the batter should be poured from a little height so you get that nice net like structure. And most importantly, never add more batter to the area of pan which is already covered in batter, just fill in sparse spots/areas, to get even consistency of the Rava Dosa.
Finally, patience is the key to make Rava Dosa, it takes more time compared to regular dosas, so keep that in mind. I have mastered the art following these tips & now I can say making Onion Rava Dosa is a piece of cake!

Guide to make Perfect Onion Rava Dosa for Beginners: Onion Rava Dosa Recipe

Click “Print” or “PDF” button below to save this recipe!

You will need:

1/3 Cup Rava/Sooji/Semolina (Fine version)
1/3 Cup Rice Flour
1/6 Cup Refined Flour/Maida
2 Tbsp Chopped Onion
2 Tbsp Chopped Coriander Leaves
4-5 Curry Leaves Chopped
1 Tsp Green Chillies Chopped
1/2 Tsp Grated Ginger
1/2 Tsp Cumin Seeds
1/4 Tsp Black Pepper Powder
1 – 1.5 Cups Water or as needed
1 Tsp Oil per Dosa or as needed
Salt to taste

Serving: Makes 4-5 Medium Onion Rava Dosa

Steps to Make Onion Rava Dosa:

  1. In a mixing bowl, add Rava/Sooji/Semolina, Rice Flour, Maida/Refined Flour and Water. Mix well.If the consistency is thick, add more water as needed.
  2. Now add Salt, Cumin Seeds/Jeera and Black Pepper Powder/Kal Mirchi Powder.
  3. Mix & keep aside for 40-50 minutes.
  4. After 50 mins check the consistency of the batter, add more water if needed.   
  5. Add Ginger/Adrak, Curry leaves, Green Chillies, Onion, Coriander Leaves. Mix well.
  6. Heat a Flat Pan/Dosa Tawa, drizzle some oil.
  7. Mix the batter everytime you pour the batter in the pan as rava & rice flour has tendancy to settle at the bottom.
  8. Pour the batter, starting from the sides & coming towards the centre. Pour batter only on portion which is not covered in batter. Do not layer the batter.
  9. Allow it cook on medium flame for 3-4 minutes.
  10. Drizzle some oil on the sides & let it cook for 5-6 minutes, till you see some brown spots.
  11. Flip the dosa over & let it cook for 2-3 minutes on medium flame.
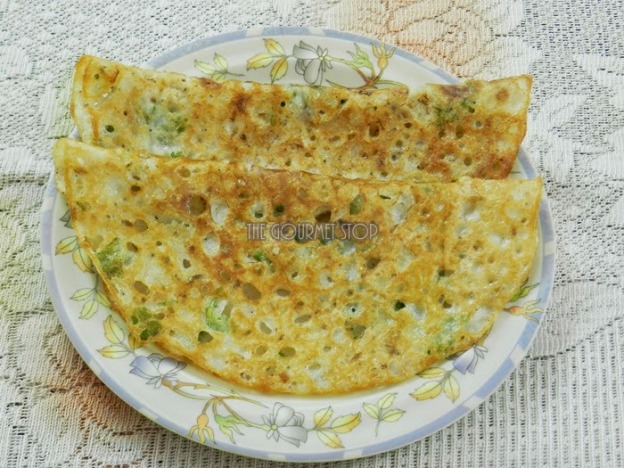
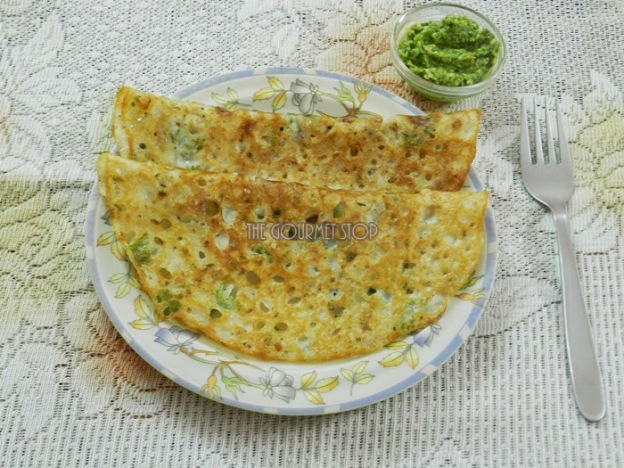
  12. Flip & fold it in half. Onion Rava Dosa is ready!
  13. Serve with Coconut Chutney or Green Coriander Chutney.

Important Pointers

  • If you are a beginner, use a flat pan instead of traditional Dosa Tawa.
  • The consistency of the batter should not be too thick or too thin. For reference, it should be like Chaas/Buttermilk consistency.
  • Never layer the batter, just fill in the sparse areas.
  • Pour the batter in the pan from a little height for the perfect net like effect on Onion Rava Dosa.

If you want to see how I made this Onion Rava Dosa Recipe, then head over to video recipe by clicking this link:


 Click “Print” or “PDF” button below to save this recipe!

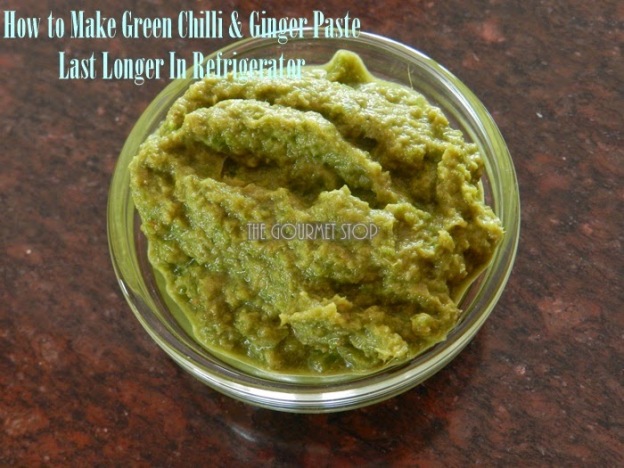
Tip of the Week: Vol 2: How to Make Green Chillies & Ginger Paste Last Longer in Refrigerator!

Tip of the Week: Vol 2: How to Make Green Chillies & Ginger Paste Last Longer in Refrigerator!

Back to Basics again today! I don’t know about you but I just can’t cook Indian recipes without having Green Chillies & Ginger paste in my refrigerator. I basically use this paste for almost all of my dishes! But grinding it fresh every time, takes up my time especially in the morning when I am packing lunch boxes & doing million things. So, I prefer making a batch & storing it in my fridge but the problem is the paste catches fungus in about 4-5 days and I have to discard it. So, when I told my mom how ‘n’th time I had to throw away the paste, she shared her secret of How to make Green Chilli & Ginger Paste last longer in fridge with me! I tell you moms knows a lot of cooking tips, you just need to be after them to get the secrets out 🙂

Tip of the Week: Vol 2: How to Make Green Chillies & Ginger Paste Last Longer in Refrigerator!

Click “Print” or “PDF” button below to save this recipe!

You will need:

1 Cup Green Chillies
1 Inch Ginger piece
1/8 Tsp Turmeric Powder
½ – 1 Tsp Salt or to taste
1-2 Tbsp Warm Oil
Water as required

Steps to Make Green Chillies & Ginger Paste Last Longer in Refrigerator:

  1. In a mixer grinder jar, add green chillies which are pre- washed & remove their tails & heads.
  2. Add ginger piece.
  3. Add turmeric powder which will keep the paste vibrant looking & green for long time.
  4. Add oil. It is the main ingredient which makes the paste last longer without catching fungus. Use a little warm oil.
  5. Cover the lid & grind it to a smooth paste. If you still see some fibres add little bit of water & grind again.
  6. After grinding it to a smooth paste, transfer it to an air tight container. It will last in refrigerator easily for 15 days & in freezer for 25-30 days.

If you want to see how I made this Green Chillies & Ginger Paste, then head over to video recipe by clicking this link:

Click “Print” or “PDF” button below if you want to save this recipe!


How to Make McDonalds Oreo McFlurry at Home

How to Make McDonalds Oreo McFlurry at Home

I don’t remember how many times I have had McDonald’s Oreo McFlurry till now! Whenever we, passed a McDonald’s counter in a mall, we always had to have some dessert because they are yummy! You can have it on the go, they are priced relatively cheaper & I kind of liked their innovative ideas they bring forth every few months in their menu. So, while enjoying the famous Oreo McFlurry it occurred to me, “hey I can make this at home”! It seems so simple & with just two trials, I made my very own version of McDonald’s Oreo McFlurry. When I added some cream to this recipe, I found it to be quite heavy & honestly my stomach never felt heavy whenever I ate it at McDonalds. So, I am totally skipping the cream plus you have an advantage of choosing low fat ice cream if you are health conscious & still want to indulge in this sweet treat once in a while.


How to Make McDonalds Oreo McFlurry at Home


Click “Print” or “PDF” button below to save this recipe

You will need:

Single Serve Cup Vanilla Ice Cream (75 ml) low or full fat
3 Oreo Biscuits

Serving: Single

Steps to Make MacDonalds Oreo McFlurry At Home:

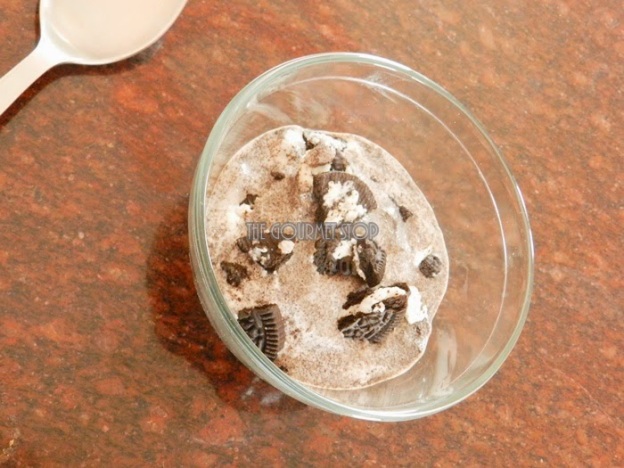
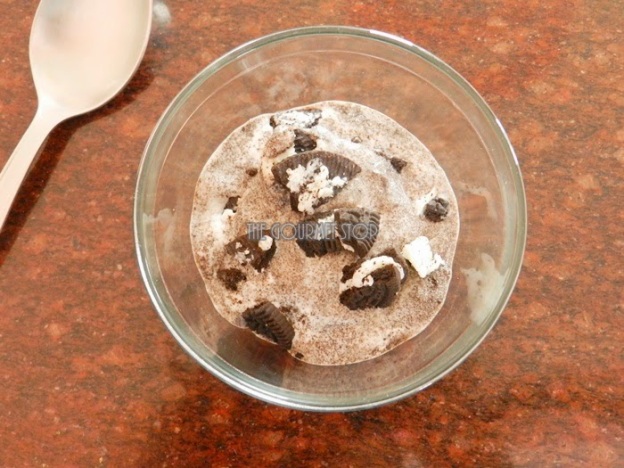
  1. In a bowl, add ice cream & keep it aside for a while till it softens. This will make it easier to work with ice cream.
  2. In a blending jar, crush 2 oreo biscuits you get crumbly texture. Approximately for 20 seconds.
  3. Roughly break/crush the remaining 1 biscuit with hands for some crunch in the ice cream.
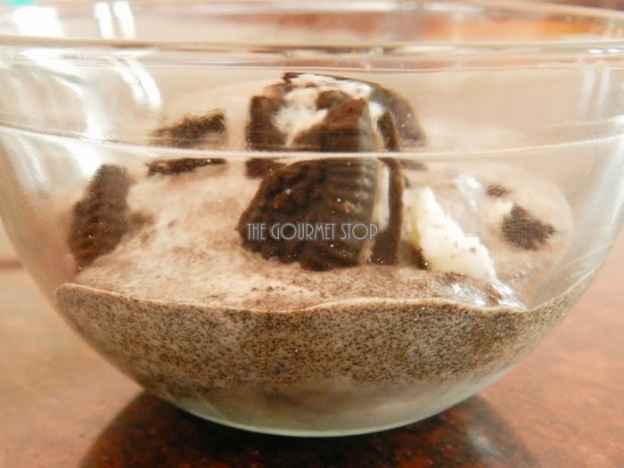
  4. Your ice cream should be soft by now. Add the oreo biscuits crumble to ice cream & mix it very well.
  5. Now add in the roughly broken oreo & mix. Keep it in refrigerator to set atleast for 30 mins.
  6. Garnish with some oreo biscuit pieces & enjoy!

Important Pointers:

  • Make a batch & store it in air tight container in your refrigerator. This can easily last for atleast 15 days.

If you want to see how I made McDonalds Oreo McFlurry at Home, then head over to video recipe by clicking this link:


Click “Print” or “PDF” button below if you want to save this recipe!

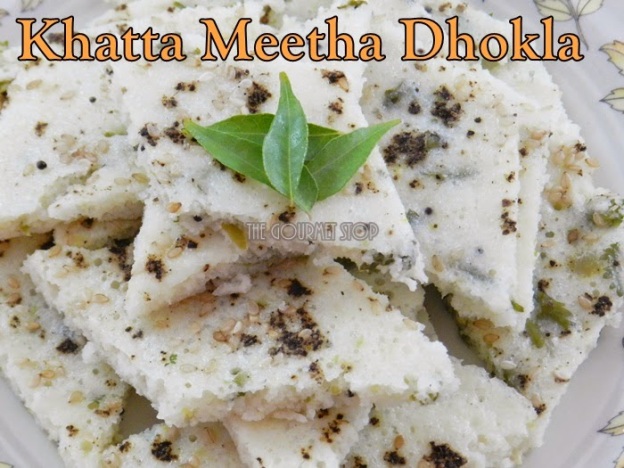
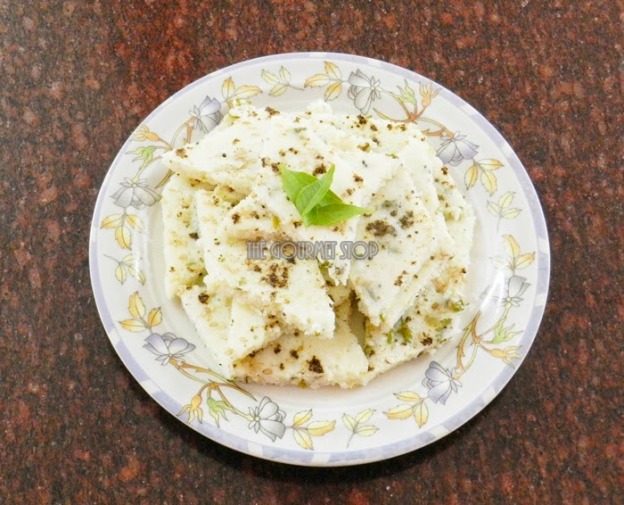
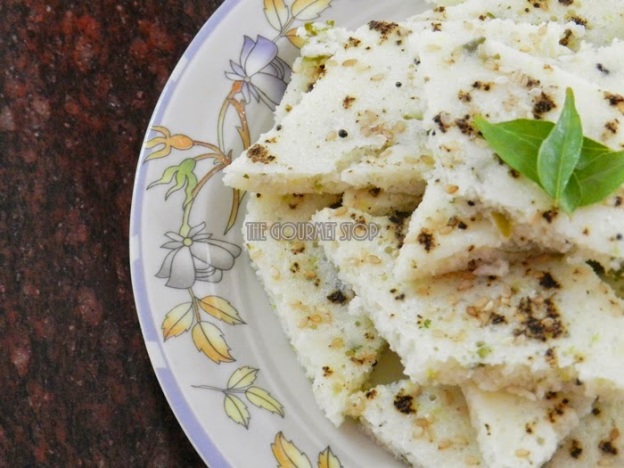
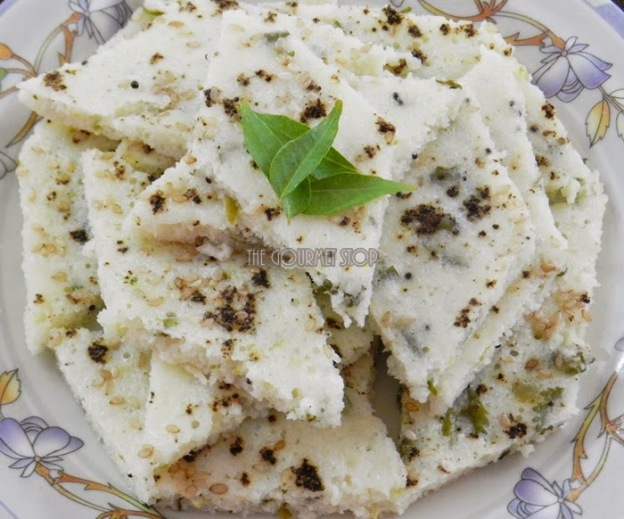
Khatta Meetha Dhokla Recipe: How to make MTR/Gits Instant Dhokla Mix Recipe at Home!

Khatta Meetha Dhokla Recipe: How to make MTR/Gits Instant Dhokla Mix Recipe at Home!

In the past, whenever I had gone to supermarket for grocery shopping, I always ALWAYS ended up picking up lots of Instant Mix packets of Dhokla, Khaman, Idlis, Dosas etc. I used these instant packets almost everyday for a quick breakfast fix. But soon I realised, these packets actually add a lot to my monthly grocery budget & most importantly, it always kind of scared me to look at those preservatives they mention in their ingredients list! So, I decided no more instant mixes at my home! And true to TGS motto,“Make at Home, here is an easy recipe of Khatta Meetha Dokhla. If you will follow the proportion of ingredients as mentioned below, I promise you will never buy an instant mix packet again. It is easy to make but it takes a little pre-planning for making the batter & allowing it to ferment but it does not end up consuming your time!

Khatta Meetha Dhokla Recipe: How to make MTR/Gits Instant Dhokla Mix Recipe at Home!

Khatta Meetha Dhokla Recipe: How to make MTR/Gits Instant Dhokla Mix Recipe at Home!

Khatta Meetha Dhokla Recipe: How to make MTR/Gits Instant Dhokla Mix Recipe at Home!

Khatta Meetha Dhokla Recipe: How to make MTR/Gits Instant Dhokla Mix Recipe at Home!

Click “Print” or “PDF” button below to save this recipe!

You will need:

1/2 Cup Rice
1/4 Cup White Urad Dal / Split Urad Dal
1/4 Cup Rava/Semolina/Sooji
1/4 Curd
Water as needed to grind the batter
2 Tsp Green Chillies & Ginger Paste
2 Tsp Sugar
1 Lemon Juice
1-2 Tbsp Freshly chopped Coriander Leaves
1 Tbsp Oil + oil for greasing
1/2 Tsp Mustard Seeds/Rai
1/4 Tsp Asafoetida/Hing
8-10 Curry Leaves
1/2 Tsp Eno Fruit Salt per plate (Total 1 1/2 Tsp)
 2-3 Pinch of Freshly Crushed Black Pepper Powder
2-3 Pinch of Sesame Seeds/Til/Taal
Curry leaves for garnish (optional)

Serving: 2-3 Persons

Serving suggestion: Serve with Green Coriander Chutney

Steps to Make Khatta Meetha Dokhla:

  1. Mix rice & urad dal in a vessel, wash & soak it in water for 4-5 hours.
  2. After 5 hours, grind it coarsely using water, consistency should be like dosa batter. For grinding, I used approximately 1/4 cup water.
  3. After grinding, take the batter in a bowl & add rava/semolina & curd. Mix well, cover with a lid & allow it to ferment for 5-6 hours.
  4. After 6 hours, once fermented, add salt to taste, Green chillies & ginger paste, sugar, lemon juice, freshly chopped coriander leaves. Mix it well & keep aside.
  5. In a small pan, heat oil add mustard seeds or rai, allow it to crackle.
  6. Add hing, curry leaves & switch off the gas.
  7. Add tempering to the batter & mix.
  8. Divide the batter into 3 equal portions. Add Eno only to the portion you are about to steam.
  9. In a steamer, place your greased Dhokla plate & allow the water to come to a boil.
  10. Pour the batter in the plate evenly. Use a spoon if required or just tap the vessel once
  11. Sprinkle black pepper powder & sesame seeds over the batter.
  12. Cover with lid & let it steam on high flame for 10-12 minutes
  13. After 12 minutes, remove the Dhokla plate from the steamer, allow it cool, then cut into pieces, garnish with curry leaves & serve with Green Coriander Chutney

Important Pointers:
  • Do not add eno to entire batter or it will harden. Add just before placing the plate in the steamer.
  • You can use long grain or short grain rice. I generally use short grain rice for dokhlas, dosa etc. as it is much cheaper.

If you want to see how I made this Khatta Meetha Dhokla Recipe, then head over to video recipe by clicking this link:


Click “Print” or “PDF” button below if you want to save this recipe! 

Minty Mango Lassi Recipe: Indian Mango & Mint Yoghurt Smoothie Recipe

Minty Mango Lassi Recipe: Indian Mango & Mint Yoghurt Smoothie Recipe

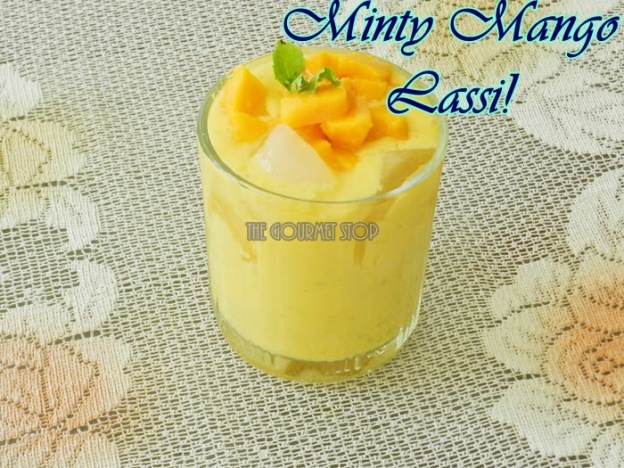
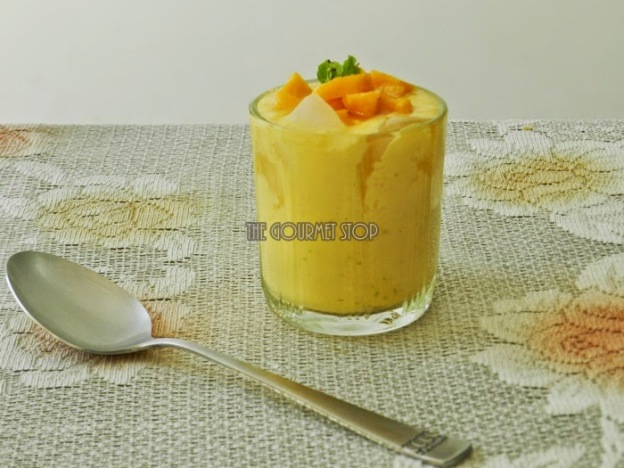
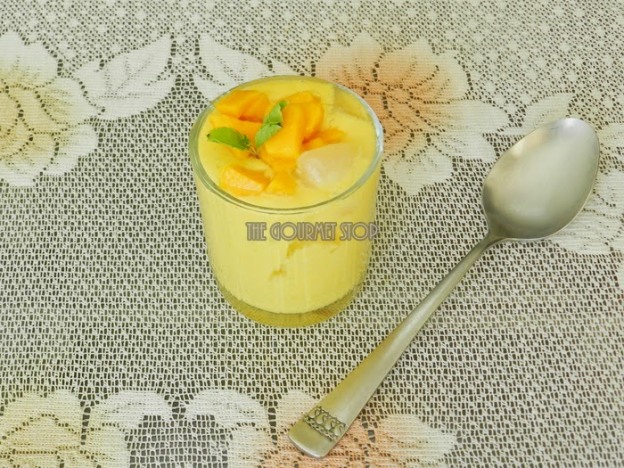
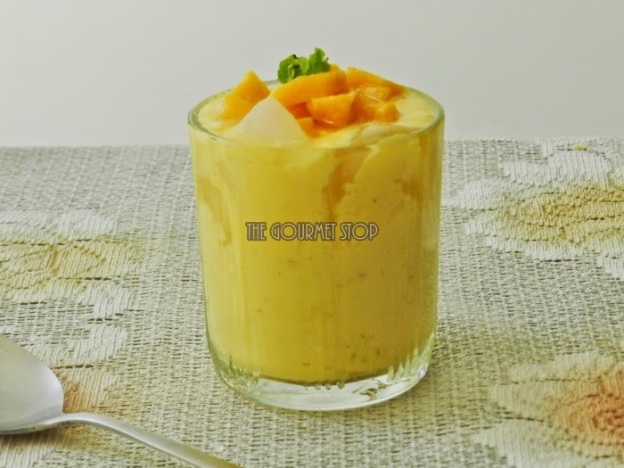
I have a quick recipe to refresh you for summers today – Minty Mango Lassi. I have already shared how to make Traditional Sweet Lassi like people make in Punjab, using a ‘Madhani’ or ‘Whisker’.This Minty Mango Lassi is a variation you can make for summers & this time I am using a blender, which makes this amazing Lassi in few minutes. I have used Fresh Mint in this drink, it makes the Lassi SO SO refreshing and I found Mango + Mint is a great combination.  


Minty Mango Lassi Recipe: Indian Mango & Mint Yoghurt Smoothie Recipe

Click “Print” or “PDF” button below to save this recipe!

You will need:

1/2 Cup Full Fat Milk Curd (Fresh)
1/2 Cup Mango Pieces (should be sweet & preferably Alphanso Mangoes)
3 Tsp Powdered Sugar or as required
6-8 Fresh Mint Leaves
4-5 Ice Cubes
Mango pieces & Mint Leaves for garnish

Serving: 1 Glass

Steps to Make Minty Mango Lassi:

  1. In a mixing jar, add sweet alphanso mango pieces, sugar. Cover the lid & blend for 30-40
  2. seconds or until its well blended.
  3. Now add fresh curd & blend again for 30 seconds or till it is blended.
  4. Add some ice cubes, which will help the thick & creamy Lassi to lighten in texture & make it chilled.
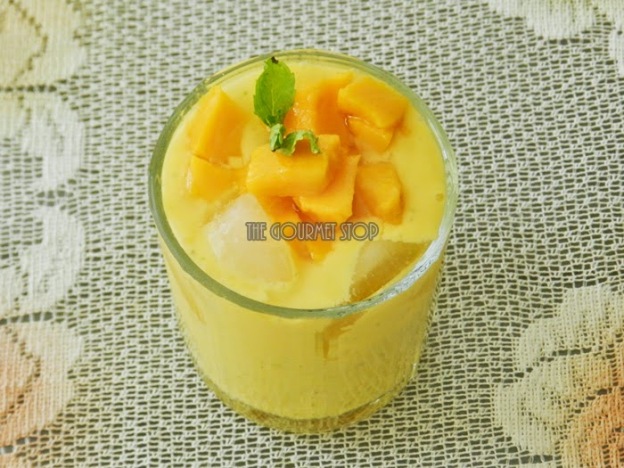
  5. In a serving glass, add ice cubes & pour the Minty Mango Lassi over it.
  6. Garnish with fresh mango pieces & mint leaves.

Important Pointers:

  • Do not overbeat the curd in blender or else it will turn into butter.
  • You can us powdered sugar or sugar syrup because too.
  • Depending upon how sweet the mangoes are & how sweet you prefer your Lassi to be, you can alter the sugar amount.  
  • Always use fresh curd to make Lassi. Do not use old & sour curd, it will not taste good.
  • Instead of water, use Ice Cubes to make the Lassi less thick in consistency & it will also chill the Lassi at the same time.

If you want to see how we made this Minty Mango Lassi, then head over to video recipe by clicking this link:

Click “Print” or “PDF” button below if you want to save this recipe!